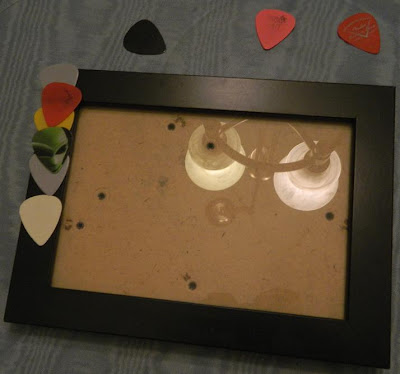
I made this frame for Father's Day. Both my dad and I play guitar, so this is a really personal gift.
If you can think of something else that could go in place of the guitar picks for Dad please leave comments!!
Some ideas that just pop into my head, but not quite sure how it would work:
- fishing lures (wacky worms, spoons, etc.)
- golf tees
- logos of his fave sports teams
It may be easier to think of ideas for Mom:
- pieces of flower seed packets
- fake flower petals
- glitter/rhinestones (for the glam mom)
For this project, you will need:
- a FLAT, WOODEN picture frame
- FLAT is mandatory (complete with glass and backing)
- wooden is suggested for ease
- hot glue gun
- hot glue sticks... of course
- assorted guitar picks
- because we are musicians we already had these at home; you can get a cheap pack of picks at any guitar store (ex. Guitar Center, Guitar and Banjo); you most likely won't find different colors in one package, but that is what the optional paint is for
- assorted colors of paint (this is only for the guitar picks; if you have enough of a variety of colors of picks, then you will not need the paint)
- you will also need a paint brush
- any other decor you would like to include....ex:
- sharpies
- glitter
- paint
- rhinestones
- feathers
- etc.
 scrapbook paper
- if you just need one piece and don't want to spend money on a huge book of paper, you can buy individual pieces of scrapbook paper for 40-50 cents at Hobby Lobby
- scissors
- modge podge
- a second paint brush if you don't want to use the same one you used for the paint
- sand paper
Step 1:
- Begin hot gluing (in flattering layers to cover the frame) guitar picks onto the frame
- I had a lot of grey picks, so I brought out the paint and applied a thin layer of paint on boring picks. I even got a little crazy-experiemental with some of them.
Step 2:
- If you want to cover the entire frame in guitar pics.. continue exactly what you are doing; then set aside for a few hours to ensure that everything is dry.
- If you would like to add paper to the bottom half, continue on to the next step.
Step 3:
- I found the directions for modge-podging scrapbook paper to wood here:
- Some of my tips for this specific project (or not included in her instructions)
- before doing this, take out the glass and backing (this gives you more room to work and protects the glass from a gluey mess and sanding)
- it actually turns out better for the edges to be too big for the frame (rather than too small)
- sand the inside edges of the frame also
- when you are done, modge podge over the edges you sanded to ensure that the paper will stay long-term
- let dry
Step 5:
- choose the perfect picture of you and your dad and place it in the frame.
Step 6:
- present it to Dad and watch him smile!


No comments:
Post a Comment